


Providing existing customer users access to FinView Control
This guide will help you to give FinView Control access, to a customer contact.
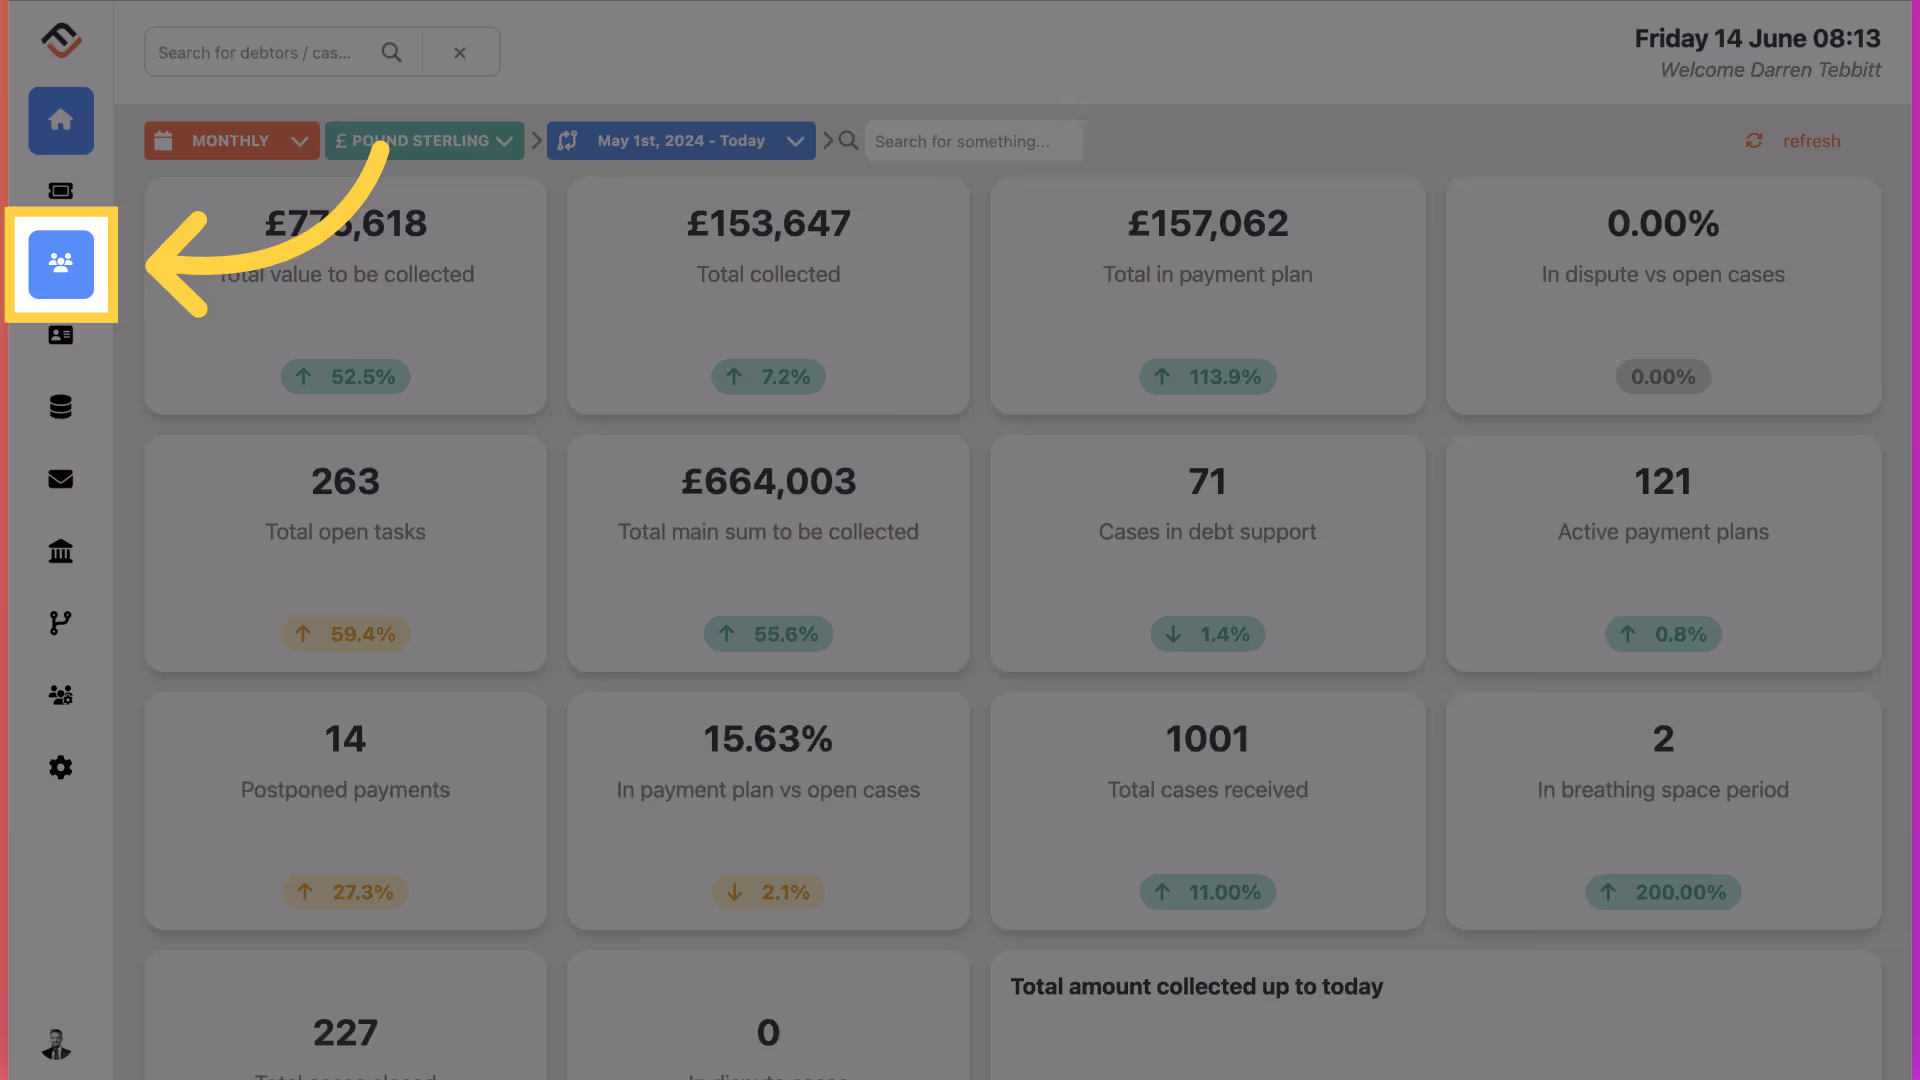
1. Go to customers.
From the side menu bar, navigate to the customer page.
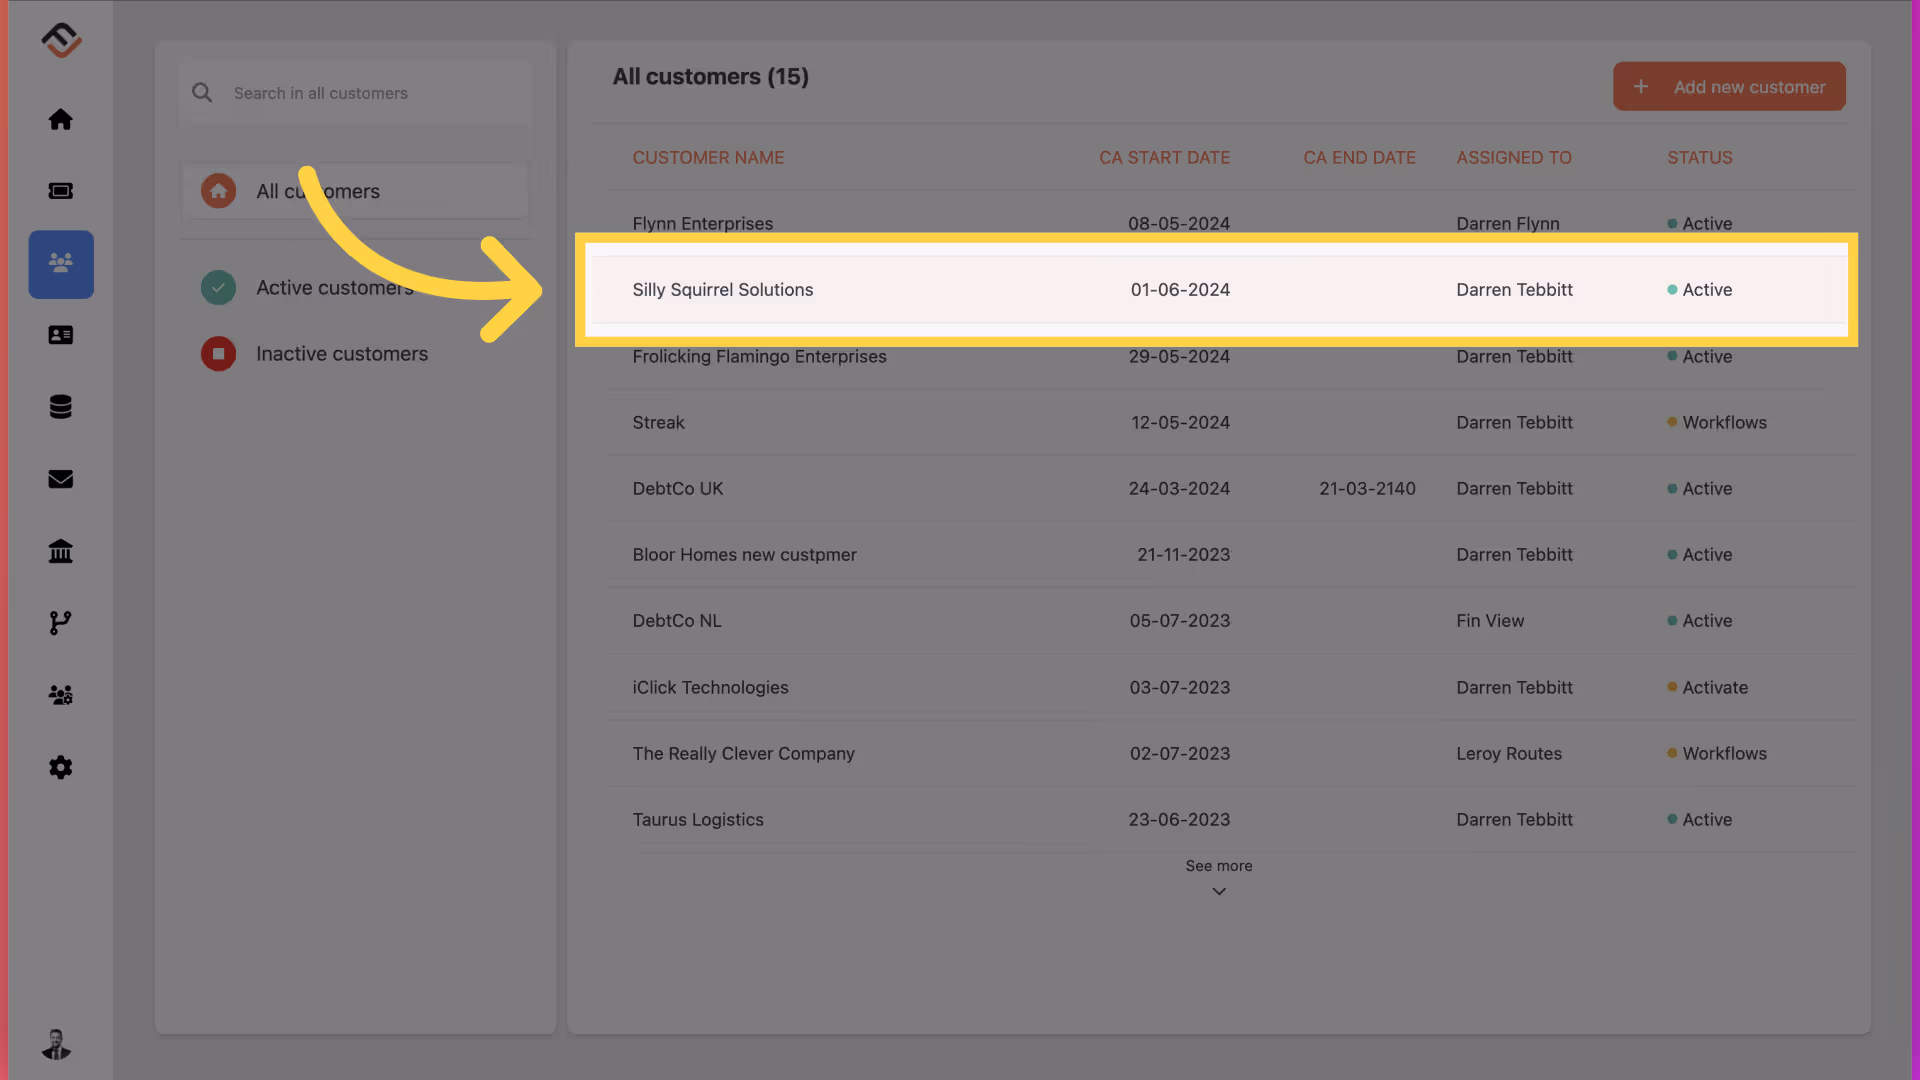
2. Select your customer
Locate the customer you want to give access to.
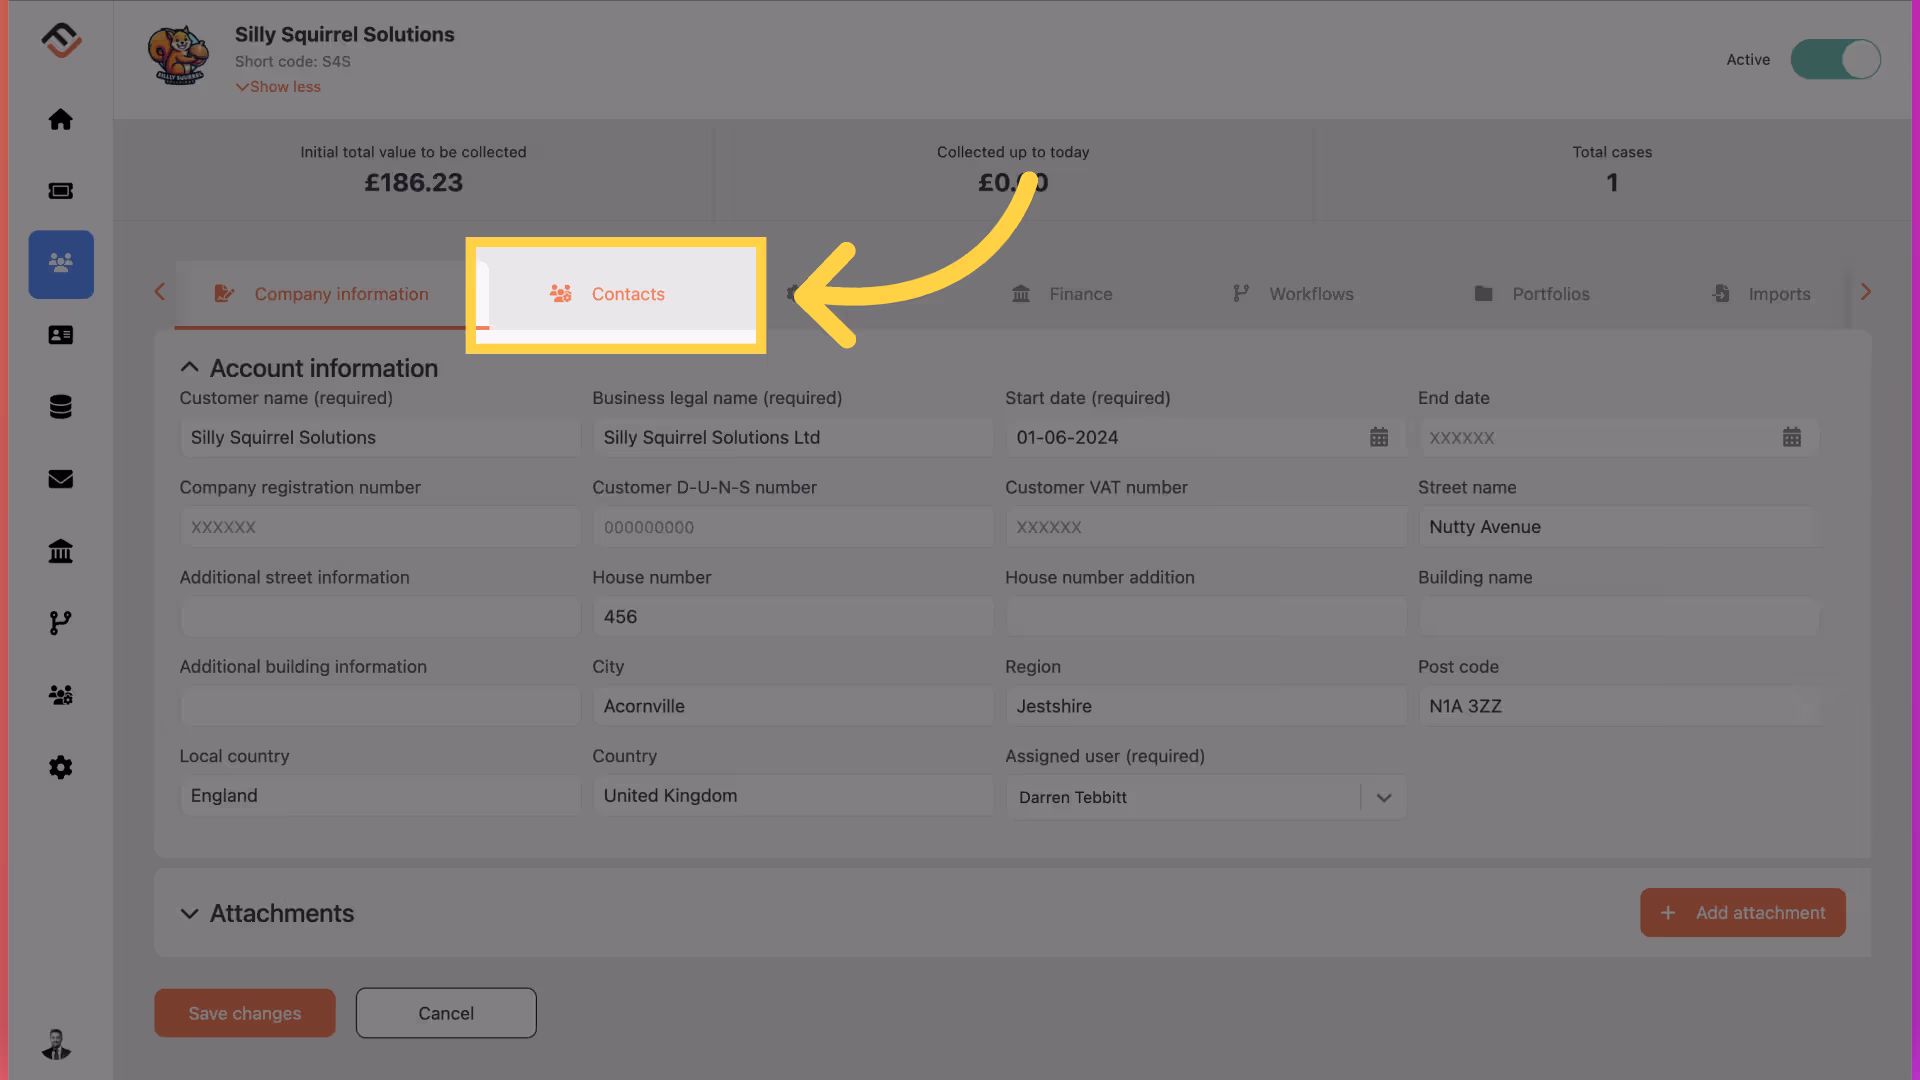
3. Click "Contacts"
Once in the customer settings, now navigate to the Contacts tab.
4. Locate the contact.
From the list of users, identify the contact that requires the access.
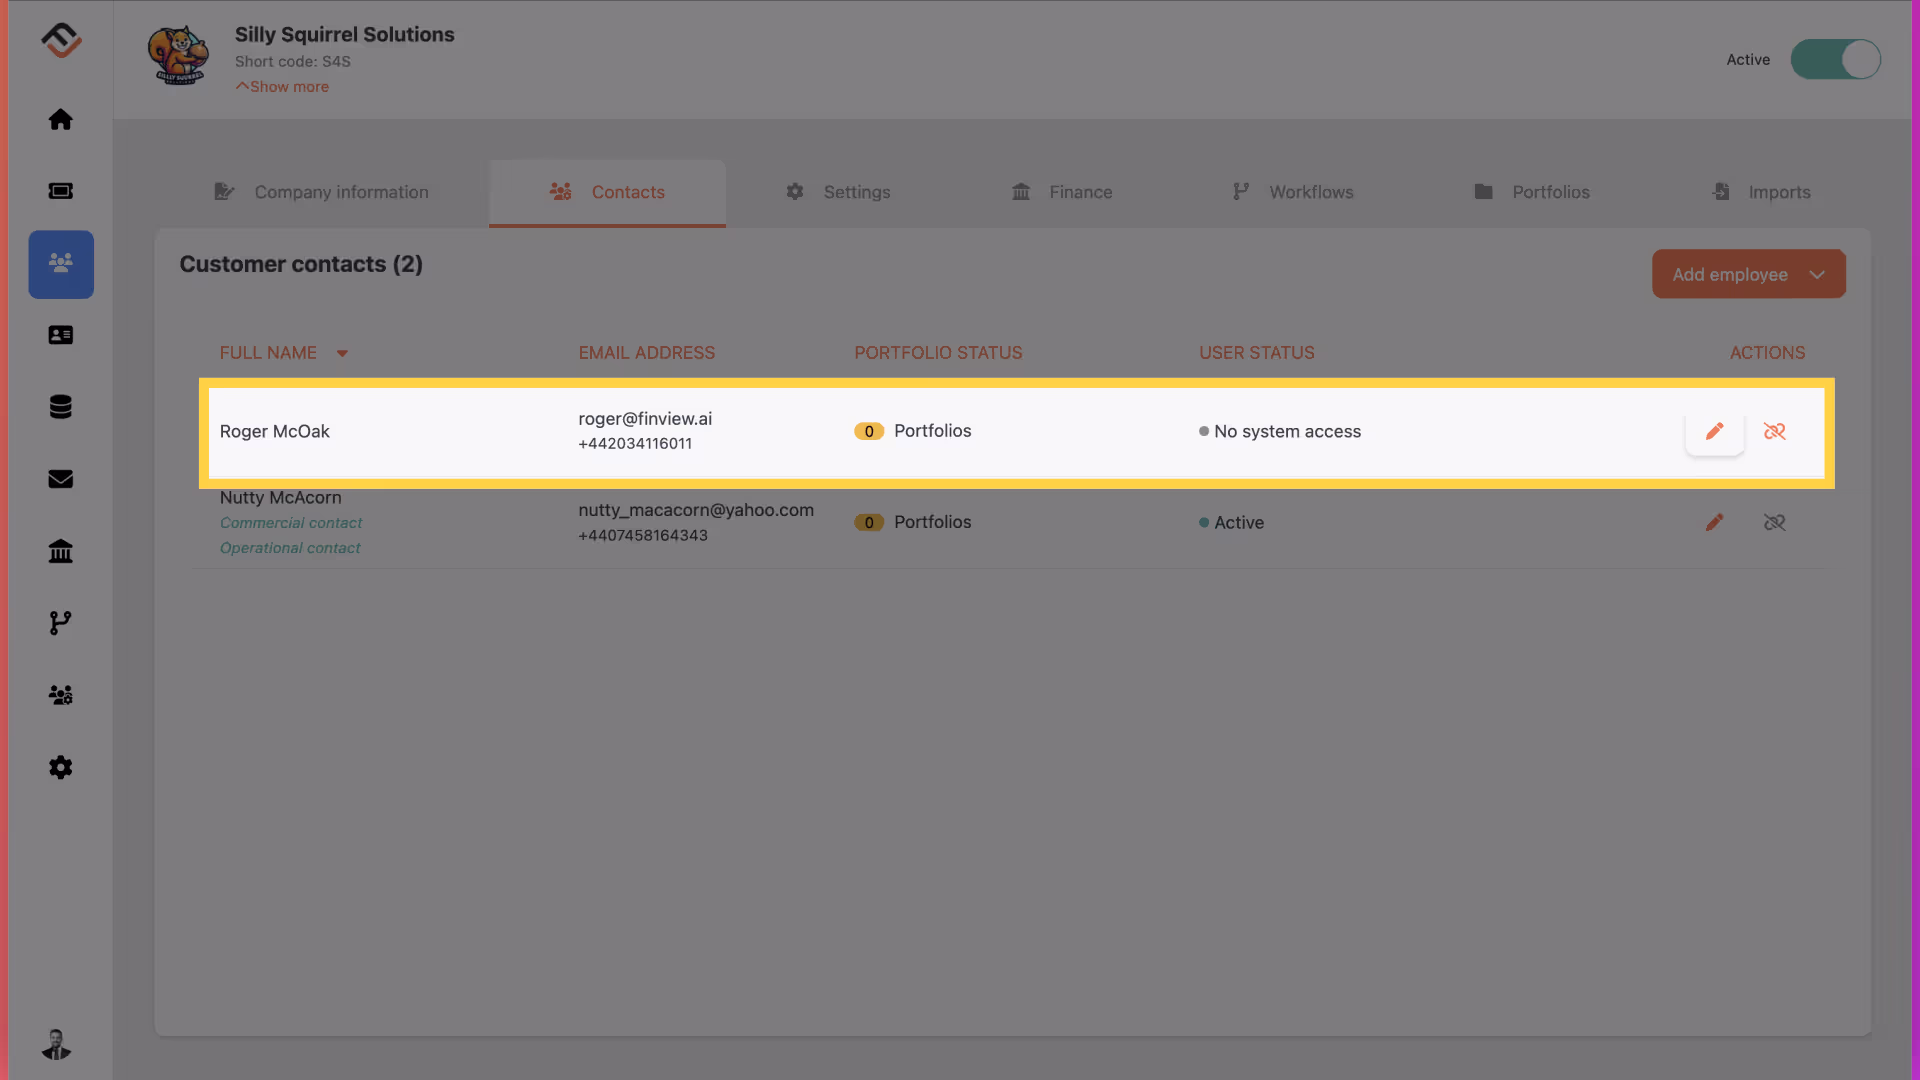
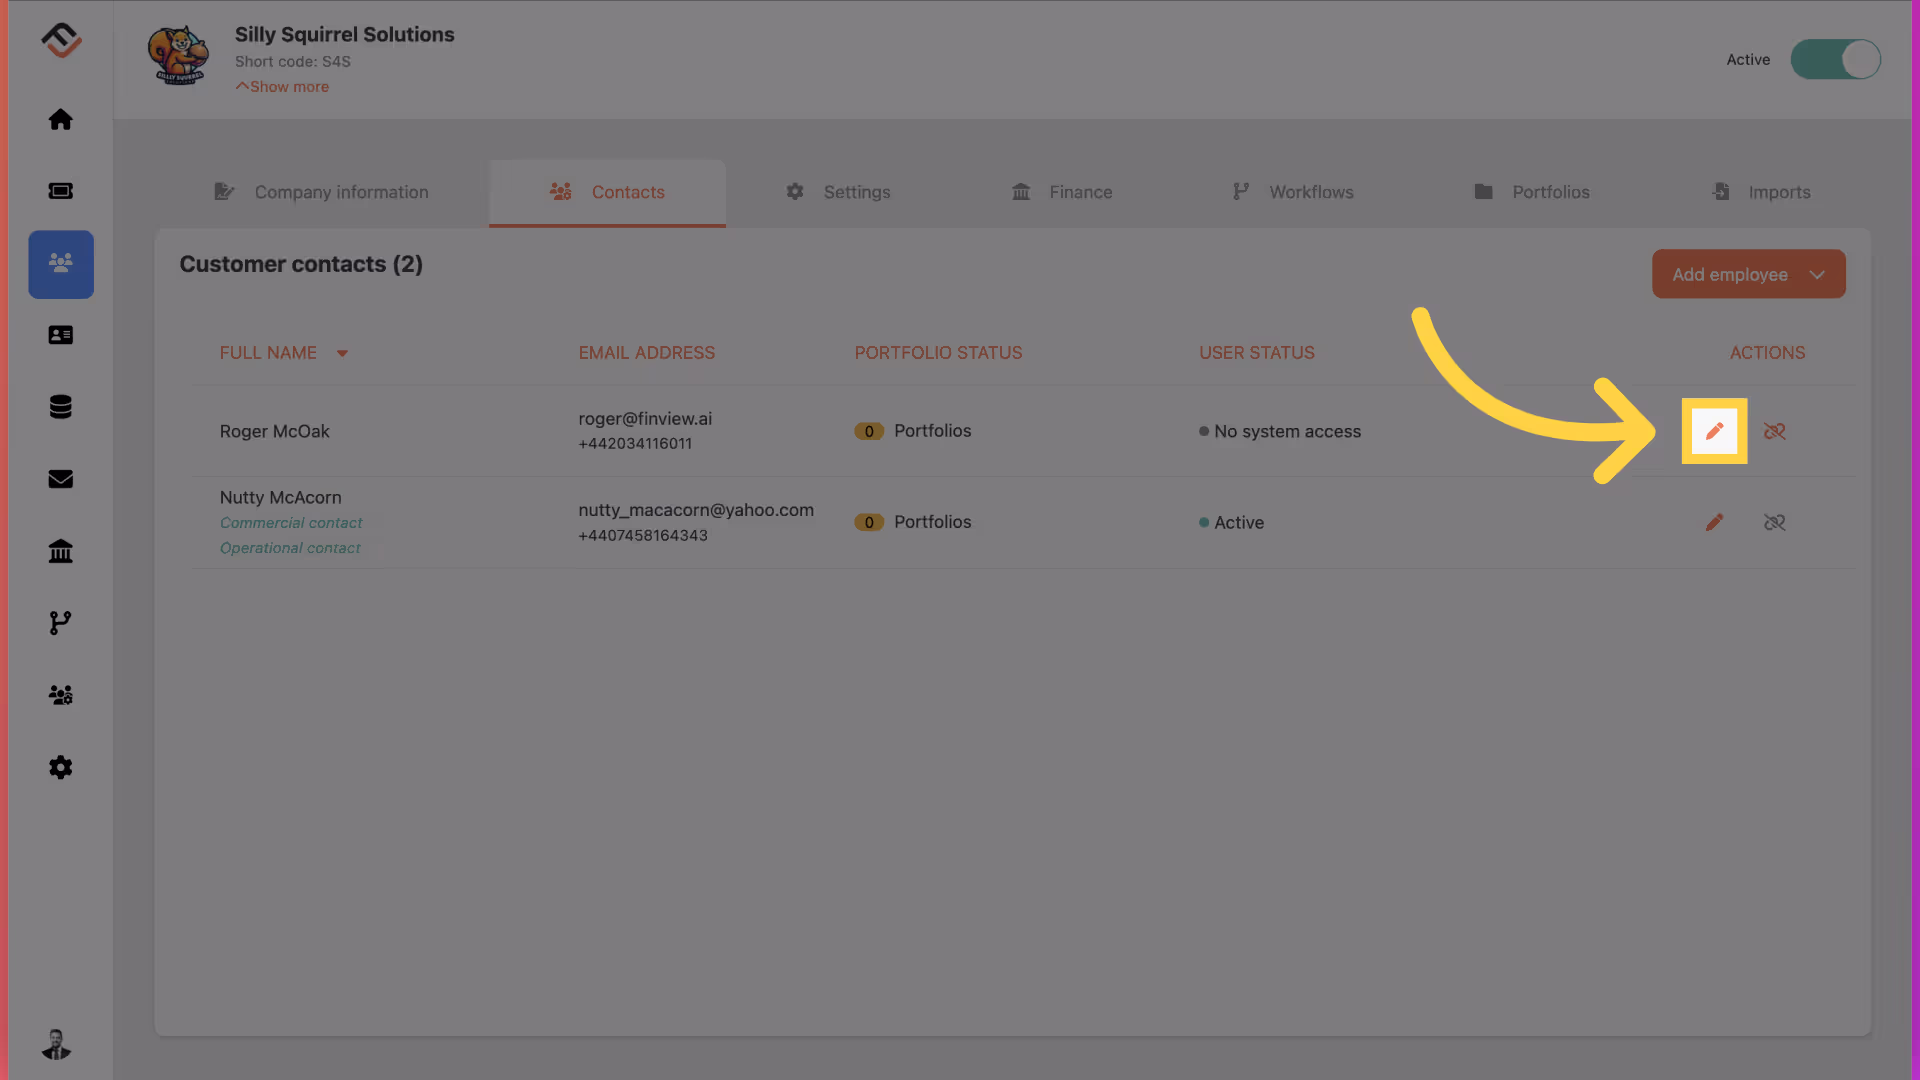
5. Click here
Open the user profile, by clicking the little icon, as highlighted.
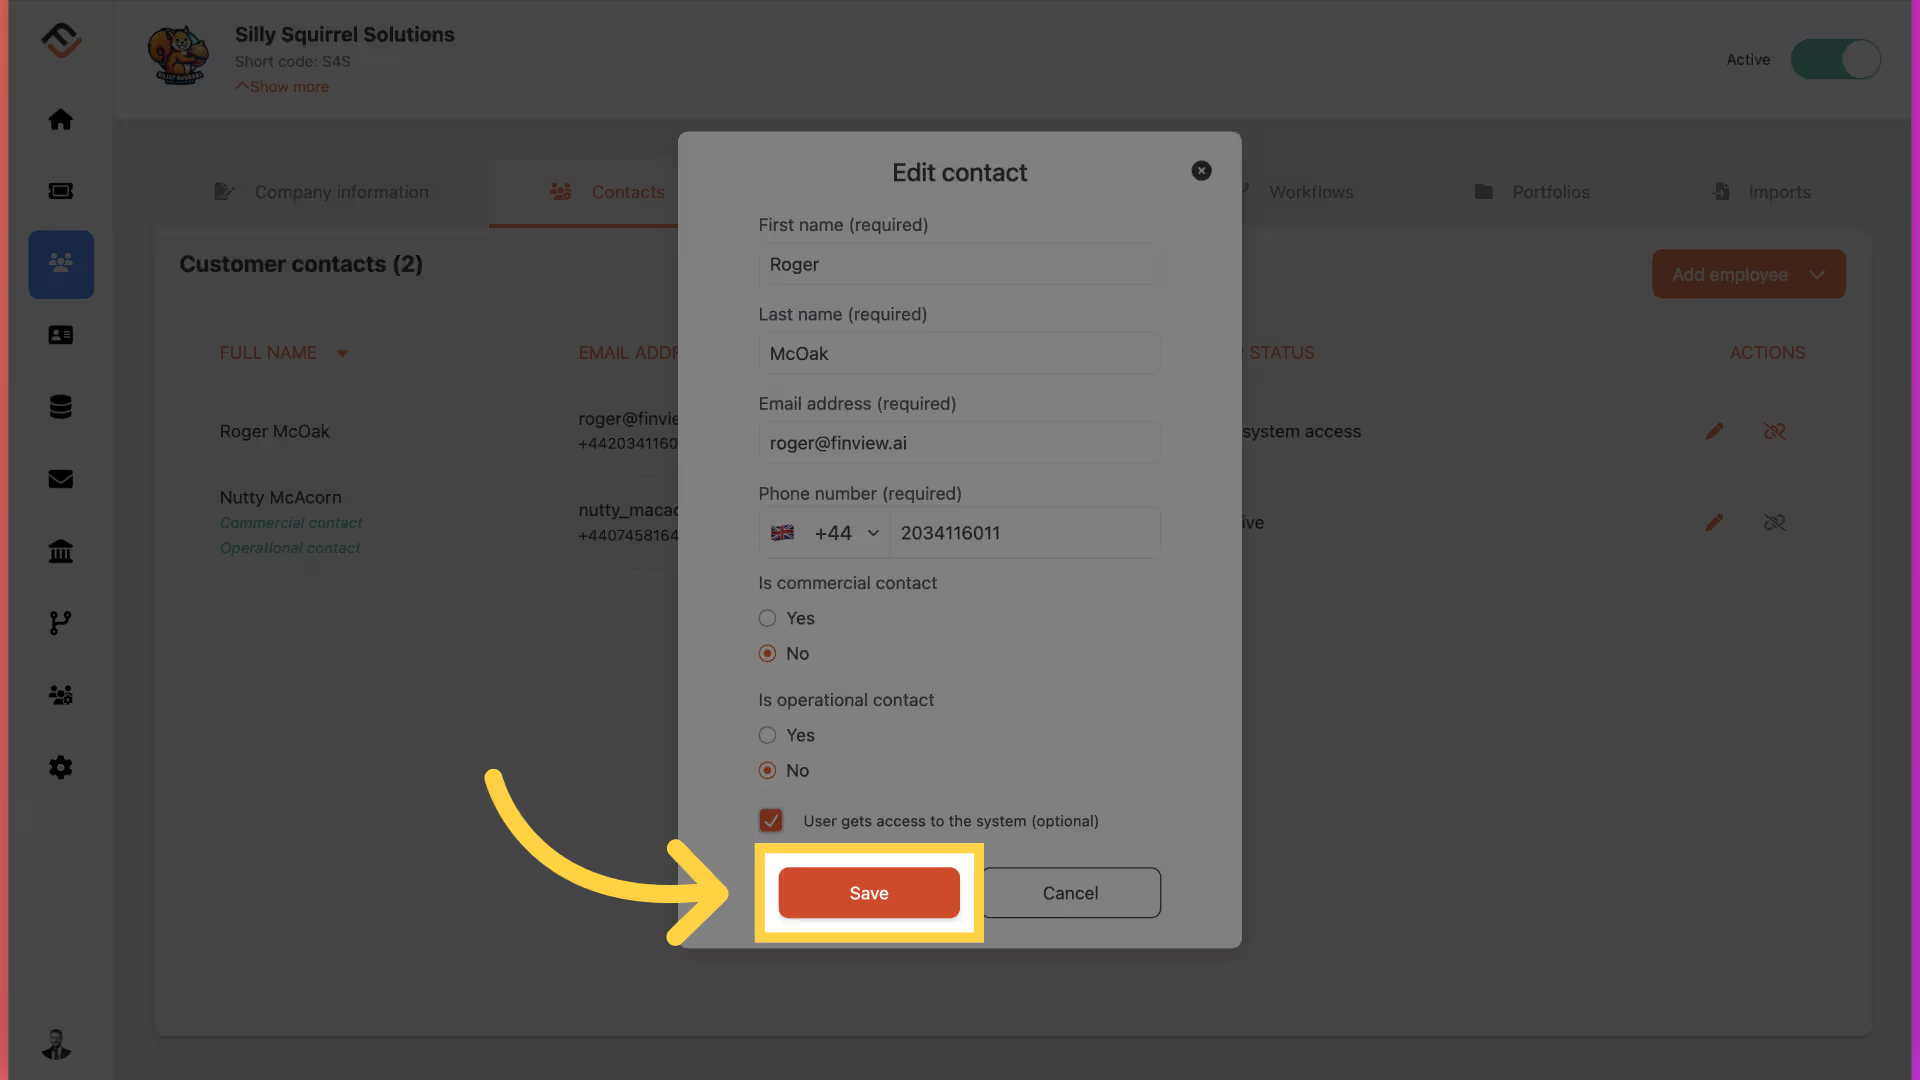
6. Grant user access
At the bottom of the pop up window, click the box 'user gets access to the system'.

7. Click "Save"
Now click save.
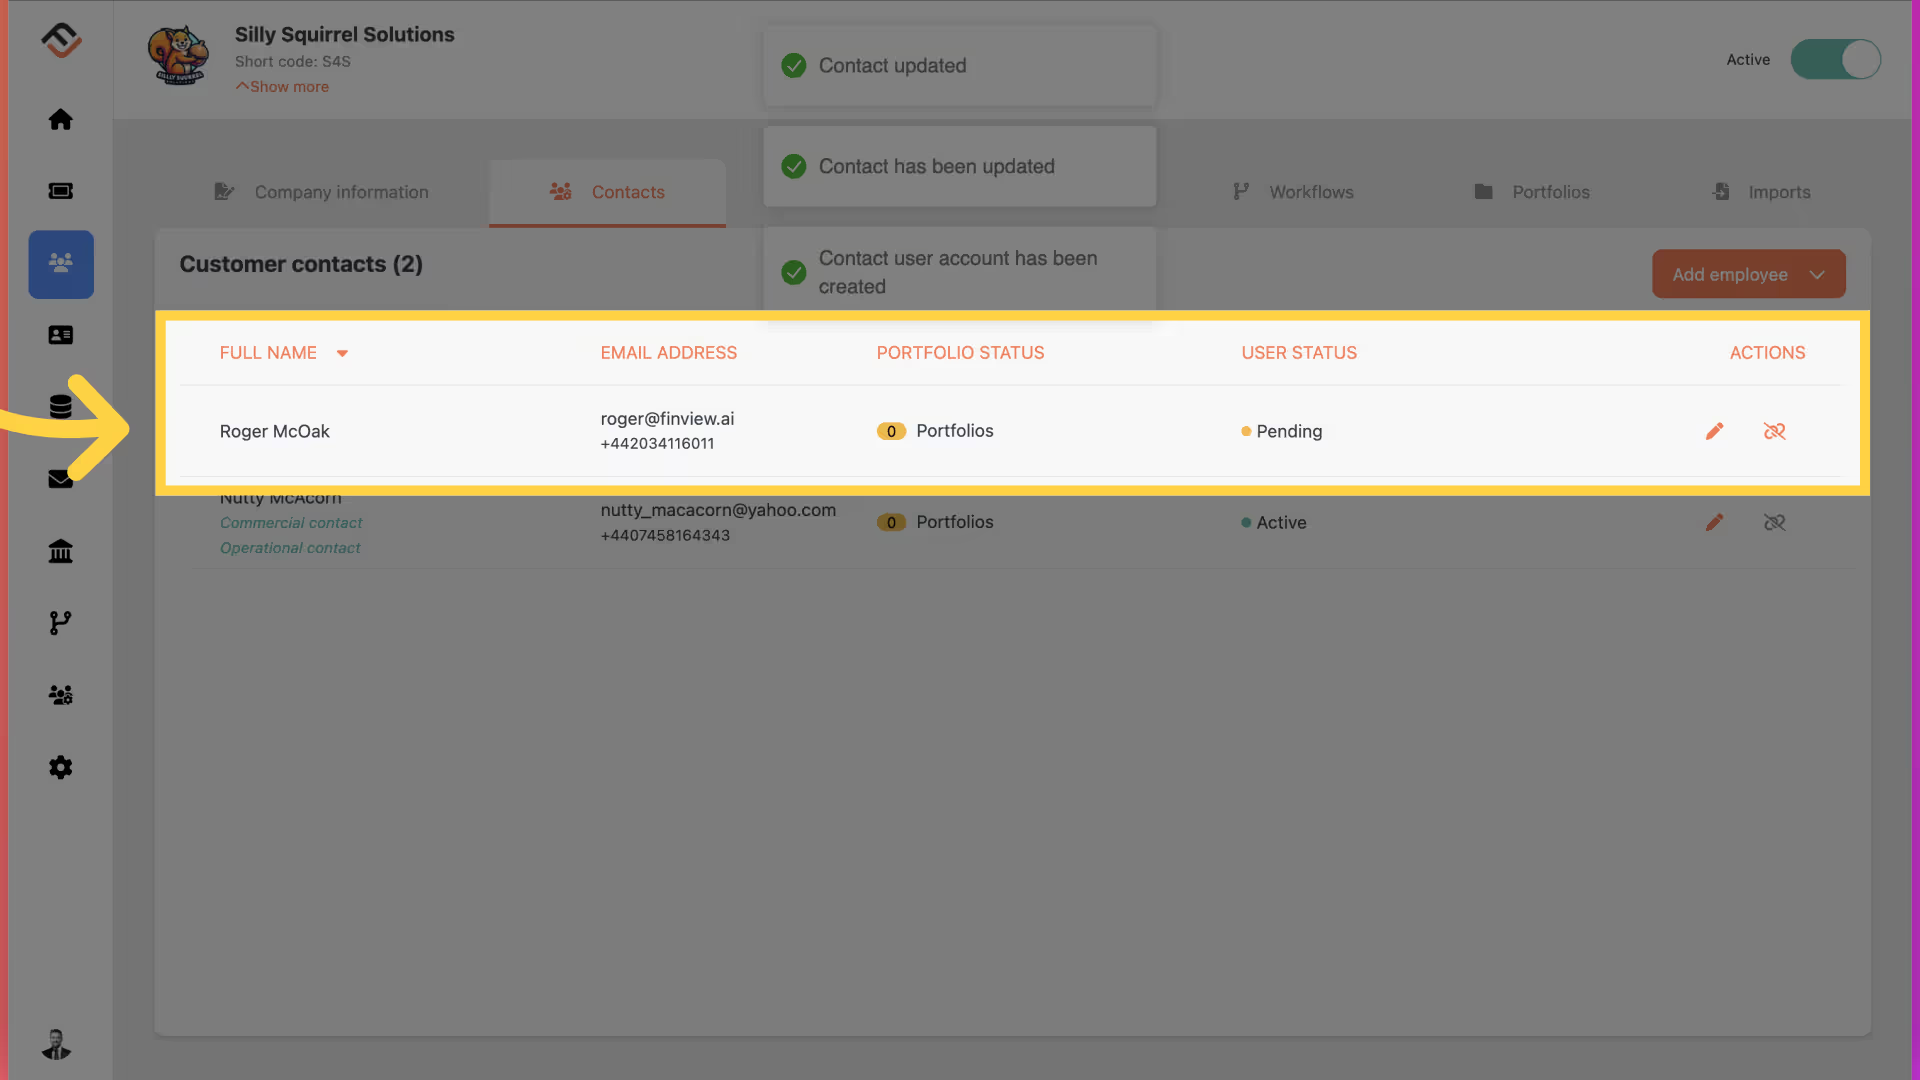
8. Review the changes
You will now see that the user's status has changed from 'No system access' to 'Pending'. This means the user will receive an email from FinView, inviting them to verify their email and set up their two-factor authentication security.
That's it. This tutorial explains how to give access to FinView control in a few simple clicks.
